The holiday season is a joyful time filled with celebrations, gatherings, and festive traditions, and personal style plays an important role in expressing that spirit. Simple Holiday Nails offer an elegant and effortless way to add a festive touch without going over the top.
By using classic seasonal colors and minimalist designs, holiday nail art can remain stylish, versatile, and suitable for both casual and formal occasions. Simple holiday nail designs strike the perfect balance between creativity and sophistication, allowing individuals to celebrate the season while maintaining a polished and refined look.
| Category | Design Style | Key Features |
| Classic Holiday Colors | Red, Green, White, Plum, Gold | Timeless, festive, and easy to wear for all occasions |
| Minimalist Designs | Negative Space, Stripes, Dots | Clean, modern, and elegant with minimal effort |
| Accent Nails | Glitter Nail, Symbol Nail | Adds festive detail while keeping the look simple |
| French Tips with a Twist | Colored or Metallic Tips | Classic style with a seasonal upgrade |
| Tools Required | Nail Polish, Dotting Tools, Tape | Enables neat and precise designs at home |
| Application Techniques | Base Coat, Layering, Top Coat | Improves durability and professional finish |
| Seasonal Nail Care | Moisturizing, Protective Gloves | Maintains nail health during winter |
| Overall Look | Simple Holiday Nails | Stylish, festive, and low-maintenance |
Simple Holiday Nails

The holiday season is a time of celebration, bringing together family, friends, and festive spirit. One delightful way to express this holiday cheer is through our nails. Simple holiday nail designs can elevate your festive look without overwhelming your style.
Classic Holiday Colors
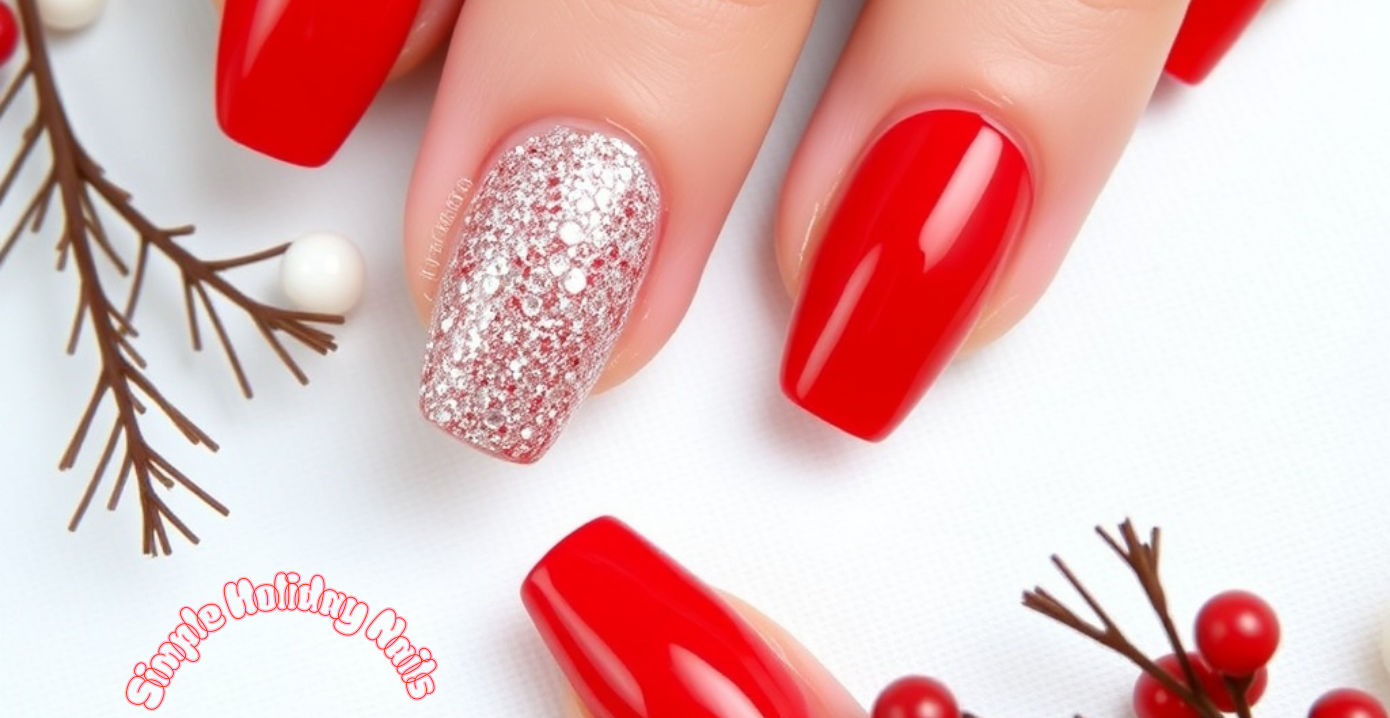
Classic holiday colors are the perfect foundation for festive nail designs. Festive Red is arguably the most iconic choice, symbolizing warmth and love. A bold crimson or softer berry hue can suit any gathering, and for a unique twist, a matte finish instead of a glossy one can provide an elegant touch. Vibrant Green echoes the essence of the season, with classic emerald shades pairing beautifully with gold or silver accents.
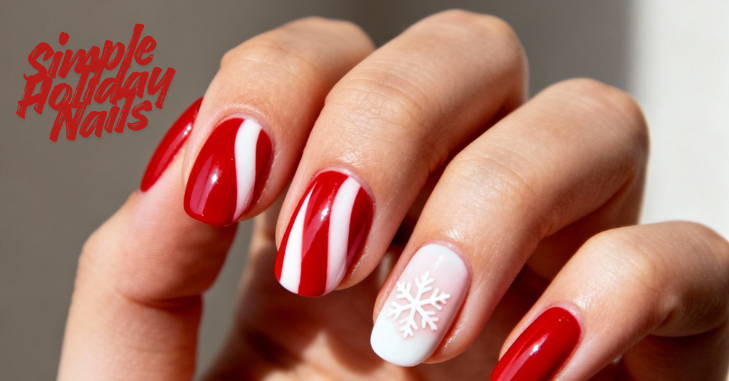
Frosty White evokes winter wonderlands, offering a crisp, elegant look, especially when accentuated with delicate snowflake designs. For those who prefer darker hues, Deep Plum provides a sophisticated vibe that pairs excellently with metallics. Lastly, Champagne Gold captures warmth and celebration, whether in a solid polish or as part of a glitter gradient.
Minimalist Designs
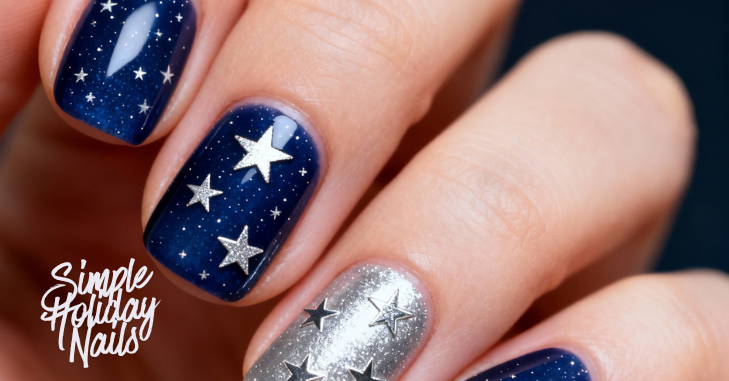
Minimalist nail designs focus on simplicity while allowing for creativity. These styles are perfect for women who appreciate understated elegance.
Negative Space Designs
Negative space nail art relies on leaving parts of the nail bare, creating unique and modern designs. Leave the tips of your nails bare while painting the base in a festive color like red or green. This design offers a chic and contemporary vibe that’s perfect for the holiday season.
Create geometric patterns using tape. For instance, a diagonal stripe across the nail can be painted in a classic holiday red while leaving the rest of the nail in its natural state.
Simple Stripes
Stripes are an easy way to add flair without overwhelming designs. Paint your nails a solid holiday color, such as deep green. Once dry, use tape to create diagonal stripes with a contrasting color, like white or gold. This streamlined approach is both festive and chic. For a less complex design, simple vertical or horizontal lines in a contrasting color can create a sharp, polished look.
Dot Patterns
Dotting can create fun and festive nail art without excessive detail. Using a dotting tool, create polka dots in white on a red or green base. This design is playful yet remains simple enough for everyday wear. A minimalistic approach could involve drawing a single line of dots along the edge of the nail. Use festive colors like gold or white for a chic look.
Accent Nails
Accent nails allow for more creativity while keeping the overall design simple. Choose one or two nails on each hand to feature a glittery design. The remaining nails can be painted in a solid holiday color, which allows the glitter to stand out.
Consider adding minimalistic holiday symbols, such as tiny Christmas trees or stars on just one nail per hand. This design adds a festive touch without overwhelming the simplicity of the overall look.
French Tips with a Twist
The classic French manicure can be adapted for the holidays to make it more festive. Instead of the traditional white tips, opt for red or green tips. This modern twist keeps nails looking fresh while still feeling seasonal. Another approach is to use metallic gold or silver for the tips. This offers glamour and is suitable for holiday parties.
Tools and Techniques for Simple Holiday Nails

To achieve beautiful holiday nails at home, having the right tools and techniques is essential.
Essential Tools
- Nail Polish: Invest in high-quality polishes in classic holiday colors. Gel-based formulas often provide lasting wear and a beautiful finish.
- Base Coat and Top Coat: A base coat protects the natural nails and helps prevent chipping, while a top coat adds shine and durability to the finished design.
- Nail Brush and Dotting Tool: For intricate designs, a fine nail brush is useful for detailed work. A dotting tool is essential for creating patterns like polka dots or snowflakes.
- Tape and Sponge: Using tape can help create clean lines and prevent mess, while sponging can assist in gradient effects.
Techniques
- Prep Your Nails: Begin by removing any previous nail polish and shaping your nails. Use a nail file to achieve the desired shape and buff to smooth the surface.
- Apply Base Coat: A base coat is crucial for protecting nails and helping polish adhere better.
- Choose Your Design: Execute your design in stages, starting with the primary color. Allow adequate drying time between coats and designs to prevent smudging.
- Practice Steady Hands: For intricate designs, take your time and practice steady hands. It can help to rest your hands on a flat surface to minimize movement.
- Finish with Top Coat: Once your design has dried completely, apply a top coat to seal in the art and provide a glossy finish.
Seasonal Nail Care Tips
Maintaining healthy nails is crucial, especially during the holiday season when nail art is prevalent. Keeping nails and cuticles hydrated with cuticle oil or moisturizer is essential, as winter weather can dry them out. Avoid excessive moisture exposure, which can weaken nails; instead, wash your hands briefly before prepping for nail art.
Limit exposure to harsh chemicals by using gloves while cleaning or doing dishes to prevent chipping. Finally, allow ample time for nails to dry to avoid smudges and ruined designs, ensuring that your holiday nails are both beautiful and durable.
Conclusion
Simple holiday nails provide a wonderful way to express individuality and festivity throughout the holiday season. By embracing classic colors like red, green, white, and gold, and incorporating minimalist designs, women can celebrate the holidays with style and elegance.
The key is balancing creativity with simplicity, allowing your nails to complement your overall look. Whether opting for classic red polish, experimenting with negative space designs, or adding an accent nail, there is a design for every taste and occasion.
With the right tools, techniques, and seasonal care tips, achieving beautiful holiday nails becomes both accessible and rewarding. As you prepare for this festive time, let your nails reflect the joy and cheer of the season, completing your holiday look with flair and finesse.
Want to know about Was Good Afternoon an Insult? Exploring Historical Context, Cultural Nuances, and Modern-Day Interpretations Check out our Lifestyle category.
FAQs
To achieve a minimalist holiday nail design, consider using negative space techniques, such as half-moon nails, simple stripes, or dot patterns. Accent nails featuring glitter or seasonal symbols are also a great way to maintain simplicity while adding a festive touch.
It’s generally recommended to let each layer (base coat, polish, top coat) dry for at least 5-10 minutes before applying the next one. After your final coat, allow at least 30 minutes for your nails to dry completely to avoid smudges.
For quick holiday nail designs, consider using one solid color with glitter on an accent nail or applying a festive sticker or decal. Simple stripes or horizontal lines with tape can also create a polished look without a lot of time or skill.